
Table of Contents
- Why Mould Returns After Cleaning: The Moisture Source You Missed
- How to Find Hidden Moisture and Leaks Before You Clean Again
- How to Prevent Mould on Roof Surfaces and Other Exterior Areas
- Professional Mould Remediation vs Cleaning: What’s the Difference?
- Material-Specific Remediation: Why One Method Doesn’t Fit All
- Post-Cleaning Monitoring: How to Confirm Mould Won’t Come Back
- Frequently Asked Questions
Last Updated: September 11, 2026
Why Mould Returns After Cleaning: The Moisture Source You Missed
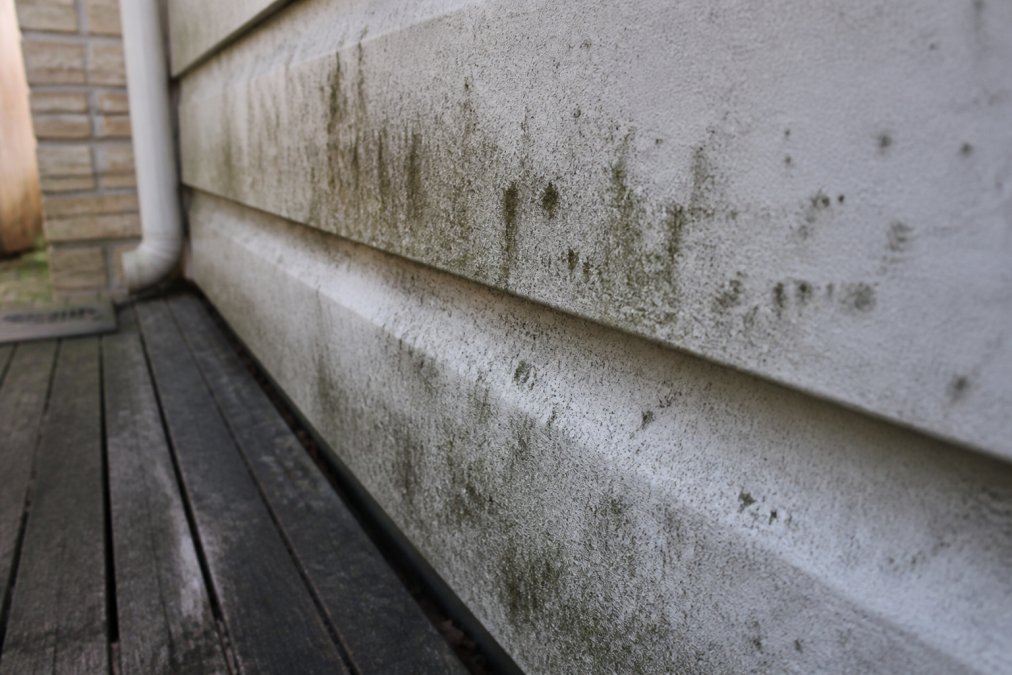
Mould returns after cleaning because the moisture source that fed it was never fixed. Cleaning removes the visible growth, not the conditions that created it. We see this constantly on exterior surfaces: a roof or driveway looks spotless for a few weeks, then the black staining creeps back because a slow leak, trapped condensation, or poor air circulation is still feeding it.
The World Health Organization’s guidance on dampness and mould is blunt about this: you cannot control mould without controlling moisture. Kill the spores, leave the water, and you have simply reset the clock.
Below, we’ll show you exactly how to trace the real moisture source, what surface cleaning actually removes, and how to confirm the problem is gone for good.
Mould is a symptom, not the disease. Every recurrence traces back to unresolved moisture: a leak, condensation, or humidity that never dropped.
The 48-Hour Window and Why It Matters
Mould spores need roughly 48 hours of sustained moisture to colonise a surface (the CDC). That window is the single most useful number in this entire article. Dry a wet patch within two days and colonisation usually never starts. Leave it wet for a week and you are cleaning, not preventing.
This is why a musty smell after rain, or staining that reappears after every humid spell, points to a moisture source that is still active. The mould is not “coming back.” It never fully left.
What Surface Cleaning Actually Removes
Surface cleaning removes visible colonies, surface staining, and loose spores sitting on top of the material. It does not reach hyphae, the root-like threads mould sends into porous surfaces, and it does not touch the moisture feeding them.
On non-porous surfaces like glazed tile or metal, a good clean can be genuinely effective. On porous surfaces such as timber, plasterboard, grout, and concrete, growth often sits below the surface layer. Scrub the top and the mycelium network underneath keeps producing new colonies.
How to Find Hidden Moisture and Leaks Before You Clean Again
Find the moisture source first, then clean. Cleaning before you have located the leak, condensation point, or humidity problem guarantees a repeat job. Here is a diagnostic sequence to use:
- Check relative humidity with a hygrometer in each affected room or zone. Sustained readings above 60% mean the air itself is feeding the mould (the EPA).
- Inspect for plumbing leaks under sinks, behind appliances, and around wet-area fixtures. Look for staining, warped cabinetry, and swollen skirting.
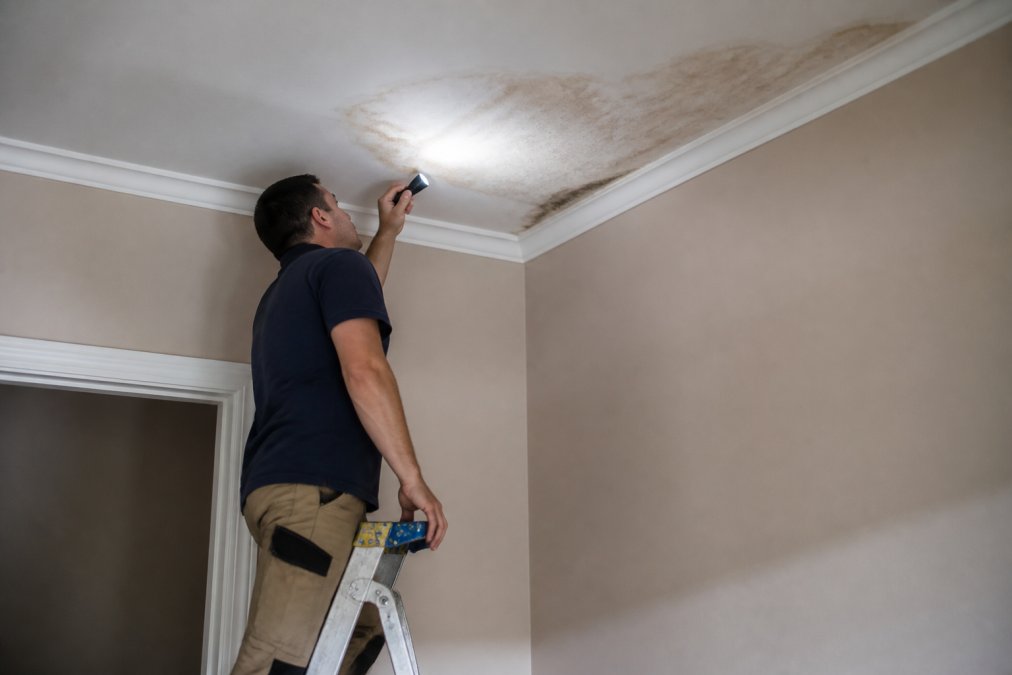
- Check roof leaks from inside the ceiling cavity after heavy rain. Water stains on plasterboard and damp insulation are the giveaway.
- Look for condensation on windows, cold water pipes, and external wall corners. This points to thermal bridging and poor ventilation rather than a leak.
- Trace the musty smell. It is strongest closest to the source. Follow your nose before you follow the stain.
- Check air circulation in corners, behind furniture, and inside wardrobes. Stagnant air holds moisture against surfaces.
Using a Hygrometer to Measure Relative Humidity
A hygrometer is a low-cost handheld device that measures relative humidity and temperature in a room. It is the single best tool for confirming whether your mould problem is a leak or an air-quality problem.
Take readings morning and evening for a week. If humidity sits above 60% consistently, ventilation and dehumidification will matter more than any cleaning product. If one corner reads high while the rest of the room is dry, you have a localised leak or cold spot.
Signs Mould Has Reached Deep-Seated Growth
Deep-seated growth shows up as staining that will not lift with surface cleaning, a musty smell that persists after treatment, and paint or plaster that feels soft or crumbly. On timber, look for dark staining that follows the grain. On plasterboard, press gently: softness means the board is compromised.
When growth has reached this stage, surface cleaning is a temporary cosmetic fix. The material may need to be removed and replaced.
How to Prevent Mould on Roof Surfaces and Other Exterior Areas
Preventing mould on roof surfaces comes down to keeping water moving off the roof and letting air dry what stays. Roofs grow mould where water pools, where shade keeps surfaces damp, and where organic debris traps moisture against the covering.
Practical preventative measures:
- Clear gutters and valleys so water drains instead of backing up under the roofing.
- Trim overhanging branches to improve sunlight and air circulation across the roof.
- Remove leaf litter and moss buildup, which holds moisture against tiles and sheeting.
- Wash exterior surfaces on a regular schedule so spores never get a foothold.
- Treat with a residual surface treatment after cleaning to slow regrowth between washes.
The same logic applies to driveways, paths, and cladding. Shaded, north-facing exterior surfaces stay damp longest and grow back fastest.
Pressure washing a mouldy surface without treating the moisture problem can drive spores into the air and spread growth to nearby surfaces. Clean, then fix the water.
Professional Mould Remediation vs Cleaning: What’s the Difference?
Professional mould remediation and cleaning are not the same job. Cleaning removes visible growth from a surface. Remediation identifies and corrects the moisture source, contains the affected area, removes contaminated material where necessary, and verifies the result with post-treatment monitoring.
For exterior surfaces, the practical distinction looks like this:
| Approach | What It Addresses | Typical Outcome |
|---|---|---|
| Surface cleaning | Visible colonies and staining | Regrowth within weeks to months |
| Soft washing with treatment | Growth plus residual protection | Slower regrowth, surface protected |
| Full remediation | Moisture source, contaminated material, verification | Problem resolved at the root |
For interior mould, remediation is a specialist trade. In Australia, there is no single national licensing scheme specifically for mould remediation, but practitioners typically work within the framework of state and territory work health and safety regulations, and may hold qualifications in areas such as water damage restoration, hazardous materials removal, or occupational hygiene. If you are engaging a remediator, ask what standards they work to, many follow the principles set out in the Institute of Inspection, Cleaning and Restoration Certification (IICRC) S520 standard for mould remediation, which is widely recognised in the industry. They should also be able to explain how they will contain the affected area, protect occupants, and verify the result.
A proper remediation process generally involves several stages. First, the moisture source is identified and corrected, this might mean repairing a leak, improving drainage, installing ventilation, or addressing a condensation problem. Second, the affected area is contained using physical barriers and, where necessary, negative air pressure to prevent spores spreading to unaffected parts of the building. Third, contaminated materials that cannot be cleaned, such as severely affected plasterboard or insulation, are removed and disposed of appropriately. Fourth, the remaining surfaces are treated with appropriate products. Finally, the work is verified, often through visual inspection, moisture readings, and in some cases air sampling.
For exterior surfaces, the picture is simpler. A trade-licensed exterior cleaning team using soft washing and biodegradable neutralisers can handle most roof, driveway, and cladding growth safely. The key differences from a DIY approach are the use of appropriate equipment (including low-pressure soft wash systems rather than high-pressure units that can damage surfaces), the use of residual treatments that slow regrowth, and an understanding of which methods suit which materials. For exterior work, the main risks are surface damage from incorrect pressure, water ingress into wall cavities or roof spaces, and safety, particularly when working at height on wet roofs.
When should you escalate from cleaning to remediation? A useful rule of thumb: if mould returns within a few weeks of a thorough clean, or if the affected area is larger than roughly a square metre, or if the growth is in a porous material that has been wet for more than a few days, remediation is the more appropriate path. For interior mould, particularly in bedrooms or living areas, it is worth addressing promptly because of the potential health implications of ongoing exposure. For exterior surfaces, cleaning combined with moisture correction is often sufficient, but if the same area regrows repeatedly despite treatment, the underlying water problem needs professional attention.
Pressure washing a mouldy surface without treating the moisture problem can drive spores into the air and spread growth to nearby surfaces. Clean, then fix the water.
Material-Specific Remediation: Why One Method Doesn’t Fit All
Different materials need different methods, and this is where most DIY attempts cause damage. High pressure that is perfect for concrete will strip paint, etch timber, and force water into roof sheeting.
- Concrete and pavers: high-pressure washing handles embedded staining well; seal after cleaning to slow regrowth.
- Timber decking and cladding: soft washing only. High pressure raises the grain and drives water into the timber.
- Roof tiles and sheeting: soft washing with a biodegradable treatment. Walking a wet roof is a genuine safety risk.
- Colorbond and metal: low pressure with a suitable treatment to protect the coating.
- Render and painted surfaces: soft wash, then treat. Aggressive pressure strips the finish.
The right method depends on the material, the level of growth, and the surface condition. A single pressure setting across a mixed-property job is how damage happens.
Post-Cleaning Monitoring: How to Confirm Mould Won’t Come Back
Confirm success by monitoring, not by eyeballing the surface on day one. Set a simple routine:
- Re-check humidity readings weekly for the first month after cleaning.
- Inspect the treated area after the first heavy rain for any new staining.
- Look for a returning musty smell, which signals moisture is still present.
- Photograph the surface on the day of cleaning and again four weeks later for comparison.
If growth reappears within weeks, the moisture source is still active. That is your signal to escalate from cleaning to remediation.
Keep a dated photo log of the treated surface. Regrowth timelines tell you more about your moisture problem than any single inspection.
Frequently Asked Questions
Why does mould come back after I clean it?
Mould returns because cleaning removes visible colonies but leaves the moisture source active. Spores need ongoing dampness to regrow, so if a plumbing leak, roof leak, or high relative humidity persists, new growth appears within weeks. Surface cleaning also misses hyphae and mycelium that have grown into porous surfaces like plasterboard or timber. Until you find and fix the root cause, mould returns after cleaning every time.
What is the difference between surface cleaning and professional mould remediation?
Surface cleaning removes visible mould from the outer layer of a material. Professional mould remediation goes further: it identifies the moisture source, contains the affected area, removes contaminated porous materials, treats deep-seated growth with a biocide, and verifies results with moisture readings. If you’ve cleaned the same patch more than twice, remediation is usually the better path.
How can I prevent mould on roof surfaces after cleaning?
Preventing roof mould starts with reducing moisture. Clear gutters so water doesn’t pool, fix any broken tiles or flashing, and trim overhanging branches that keep the roof shaded and damp. After cleaning, apply a residual treatment suited to your roof material. Check the roof after heavy rain for signs of condensation or thermal bridging, and book periodic inspections so small issues don’t become recurring growth.
Can poor ventilation cause mould to return after treatment?
Yes. Poor ventilation traps moisture indoors, pushing relative humidity above the level mould needs to grow. Bathrooms, laundries, and roof cavities are common problem areas. Installing extraction fans, opening windows daily, and using a dehumidifier in humid months keeps humidity down. If you’ve treated mould and it keeps returning in the same room, ventilation is often the missing piece.
Mould that keeps returning is a moisture problem wearing a cleaning problem’s clothes. Fix the water, and the mould stops coming back. At Sydney Pressure Washing Service, our trade-licensed team uses soft washing and biodegradable neutralisers to clean roofs, driveways, timber, and cladding safely, without the surface damage that high pressure causes on delicate materials. Get a free quote and we will identify the growth, treat the surface, and set you up to keep it clean.
